Hey there!
Want to learn how to make chin chin from the comfort of your home? Then you’ve come to the right place.
Chin Chin is a popular Nigerian snack enjoyed by people of all ages and backgrounds. Crunchy and subtly sweet, it pairs perfectly with a cup of tea, wine and soft drink also.
Chin chin serves as a delightful companion for movie nights, or simply stands tall as an anytime indulgence. While store-bought options exist, nothing compares to the joy and satisfaction of making your very own batch, tailored to your taste preferences.
In this comprehensive guide, we’ll take you through the step by step journey on how to make Chin Chin, with captivating images to ensure your success at every turn.
Whether you’re an experienced baker seeking a new adventure or a beginner eager to impress family and friends, we’ve got you covered!
From mixing and kneading the dough to cutting and frying to perfection, we’ll walk you through the journey of crafting your very own Chin Chin masterpiece. Along the way, we’ll also share useful tips and flavor variations, allowing you to add your personal touch to this timeless delicacy.
So, roll up your sleeves, gather your ingredients, and let’s dive into the world of Chin Chin making.
How to make chin chin all narrows down to the various ingredients needed so let’s go over the ingredients you will be using for this process.
Ingredients for Making Chin chin
To make a delightful chin chin, there are certain ingredients that will be needed. Now this is my secret recipe for making my chin chin;
- Flour
- Sugar
- Salt
- Eggs
- Butter
- Milk
- Baking powder
- Cinnamon or nutmeg (for extra flavour)
- Oil for frying
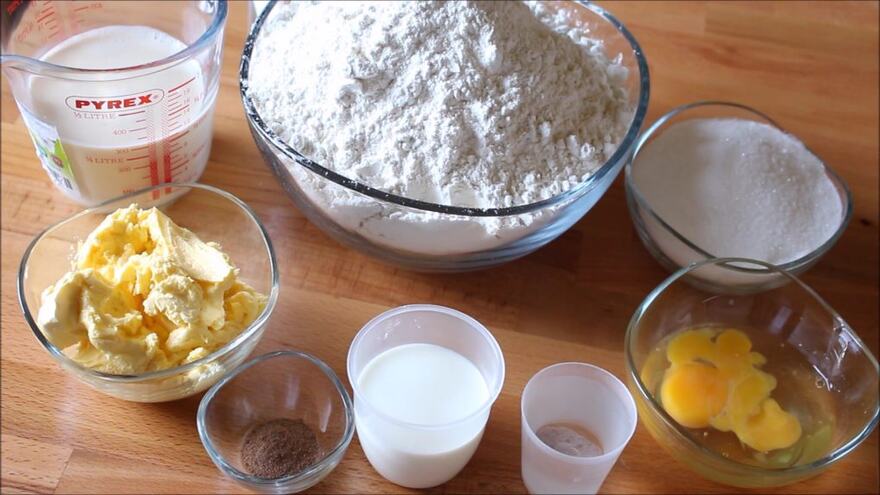
If you’ve got the ingredients listed above, then you’re ready to make your own chin chin but if not, I’d suggest you head to the market and make provisions for them to get better results.
How to Make Chin Chin
For this article, these are the measurements to use;
- 2 1/4 cups of all purpose flour
- 1/4 cup sugar
- A pinch of Salt
- 1/4 teaspoon Baking Powder
- 1 egg (large)
- 5 to 6 Tbsp Milk
- 2 1/2 Tbsp Butter melted
- 1/2 tsp cinnamon or nutmeg
- Vegetable oil for frying
Now that you’ve got the various ingredients you need for this journey, let’s get right to it;
Step 1: Mixing the Flour
The first thing you want to do is mix the ingredients together.
- Get a clean bowl, pour the flour, sugar and salt, nutmeg and baking powder then mix properly for about 2 – 5 mins.
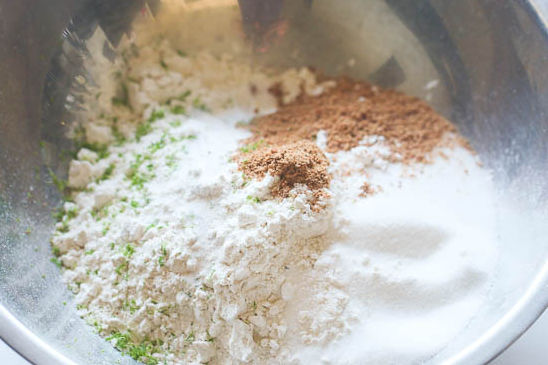
- After mixing for about 5 mins, add your butter and continue mixing till it blends in.
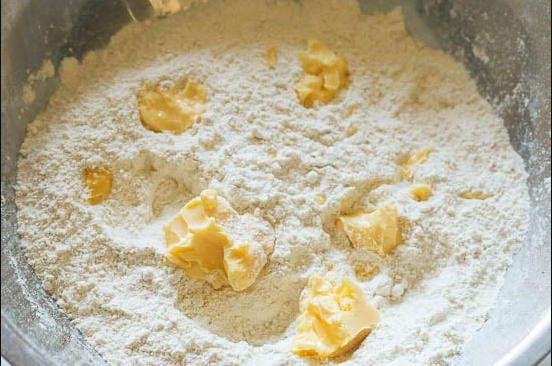
- Break your eggs in a bowl, add your milk and mix them properly with a spoon or whisk.
- After mixing, create a hole in the middle of your mixed flour and pour the egg mixture inside, then mix properly (preferably with your hands).
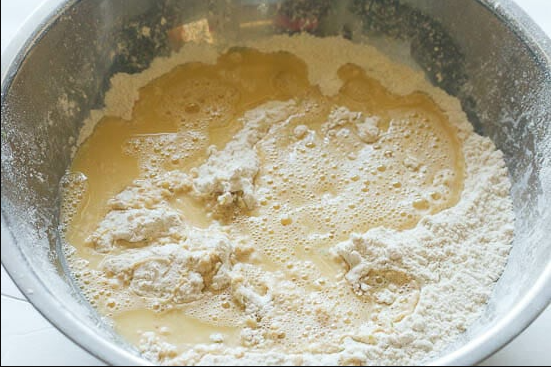
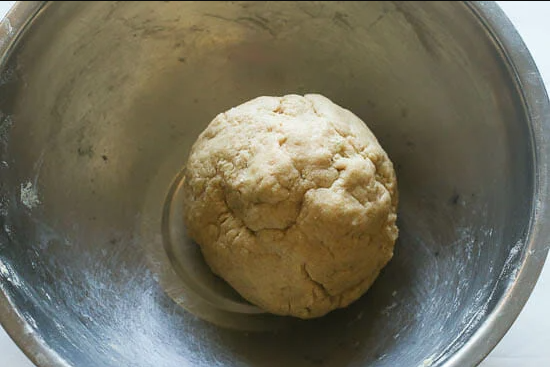
- Mix the flour till it becomes a thick dough like the one in the image below. You can also add little water if the dough is too thick.
Step 2: Milling the Flour
After mixing the dough for about 10 – 15 minutes total, the next step is to mill the dough and here’s how to do it;
- Get the dough out of the bowl and place it on a clean flat surface (add little flour on the surface before placing your dough on it).
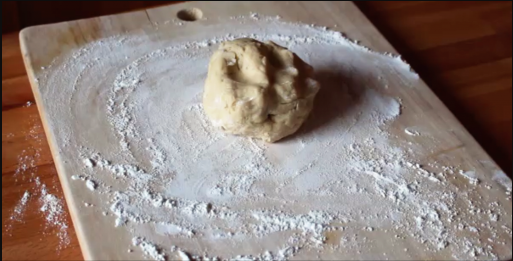
- Now, knead the dough using a dough roller several times, just long enough for it to become smooth and somewhat elastic.
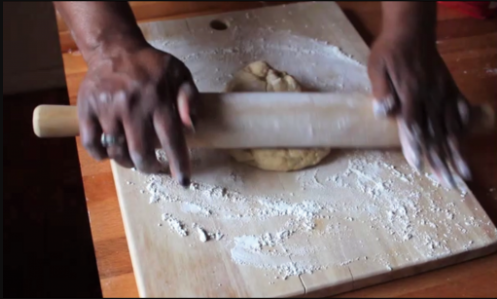
- You should also apply little flour on the roller as you knead the dough so it wont get sticky and make a mess.
Step 3: Cutting the Dough
After mixing, now it’s time to cut the dough into your preferred shape and here’s how to do that.
- After milling the dough for about 7 – 10 mins, use the rolling pin to flatten the dough until it is an even 1/4 inch (0.6 cm) thick all the way around.
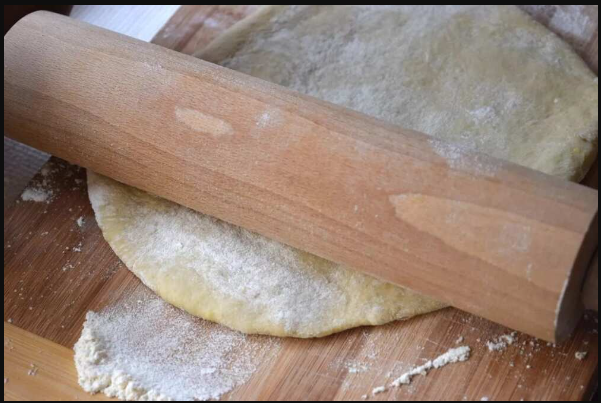
- If there are uneven edges, use a knife to trim them away before cutting the main part of the dough into pieces. The trimmed parts of the dough should be kneaded again to form a whole dough.
- Now you can use a knife or pizza cutter to cut the dough into desired shapes (e.g., squares, diamonds, or strips).
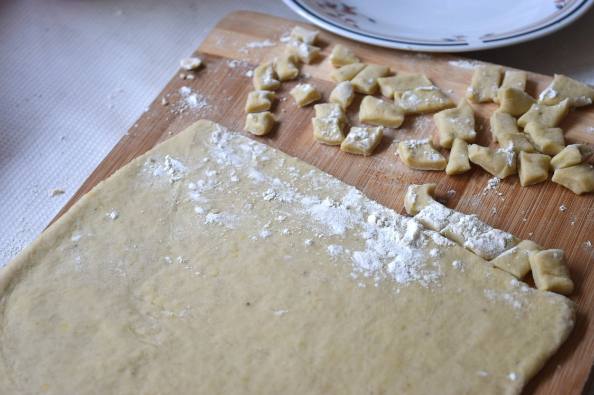
- You can start by making straight lines on the dough and then proceed to make other shapes.
After cutting the dough into desired shapes, you can proceed to the frying part.
Step 4: Frying your chin chin
Because it’s chin chin we’re making, there’s no need to wait. After cutting the dough, the next step is frying and here’s how to do it;
- Pour 1/2 litre of vegetable oil into a frying pan or a pot that will be good enough to deep-fry your chin chin and heat it up.
To know if the oil is hot enough to fry, place a small piece of dough into the oil. If the dough remains at the bottom for an extended period, the oil requires further heating.
If the dough rises quickly, consider reducing the heat to prevent the chin chin from browning too quickly. But if the dough gradually floats to the surface of the oil, it indicates that the oil has reached the perfect temperature.
- Now, add the dough to the oil and fry for about 5 – 8 minutes till it gets brownish, and remove it when it gets to your preferred texture.

- Repeat the same process for the remaining ones till you finish frying.
Step 5: Consumption
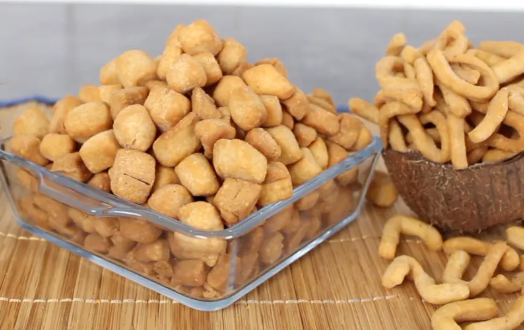
Chin chin is best enjoyed when it has cooled down so don’t be in a haste to eat your chin chin. Allow it to cool down, then you can serve it.
How to Preserve Your Chin Chin
If you’ve made your chin chin and don’t want to consume it all at once, the best way to preserve it is; Allow it to cool down and then pour it into a container and cover it tightly.
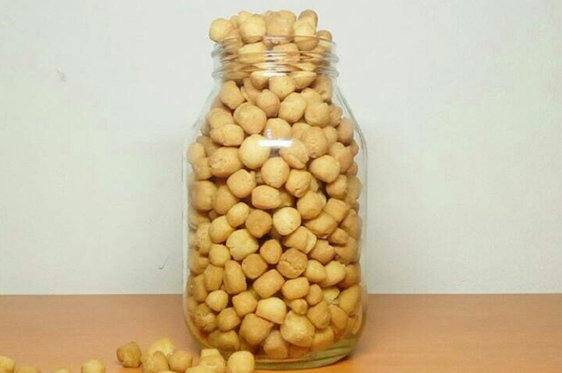
Your chin chin will definitely get spoilt when you expose it to air so immediately it gets cold, you should preserve it properly so it can provide you that crunchy feeling when next you lay your hands on it.
Recipe for Making Chin Chin
The basic recipe used in making chin chin includes;
- Flour
- Sugar
- Salt
- Eggs
- Butter
- Milk
- Baking powder
- Cinnamon or nutmeg (for extra flavor)
- Oil for frying
Conclusion on How to Make Chin Chin
Congratulations! You’ve successfully embarked on a delightful culinary journey, learning how to make Chin Chin step by step with the guidance of our comprehensive guide.
As you’ve experienced firsthand, the process of creating this beloved West African snack is both rewarding and enjoyable, offering a delicious treat that perfectly complements your tea time, movie nights, or any occasion you desire.
Following the steps outlined in this article will definitely yield amazing results, giving you that crunchy chin chin you’ve always desired. Try it out and let me know how successful it went in the comment section.
